




Screw Tips That Actually Help: Choose the Right Bit, Prevent Stripping and Get a Better Fix

Screws look simple, but small choices make a big difference: the correct driver bit, the right screw for the material, a steady angle and sensible speed. If a screw keeps slipping, sits proud of the surface, splits the wood or refuses to come out, applying more force is rarely the best first move.
This guide covers practical checks that make everyday fastening cleaner and more reliable. It is written for ordinary household and woodworking jobs; structural fixings, electrical enclosures and heavy overhead loads need the correct rated hardware and, where appropriate, qualified advice.
1. Match the driver bit to the screw
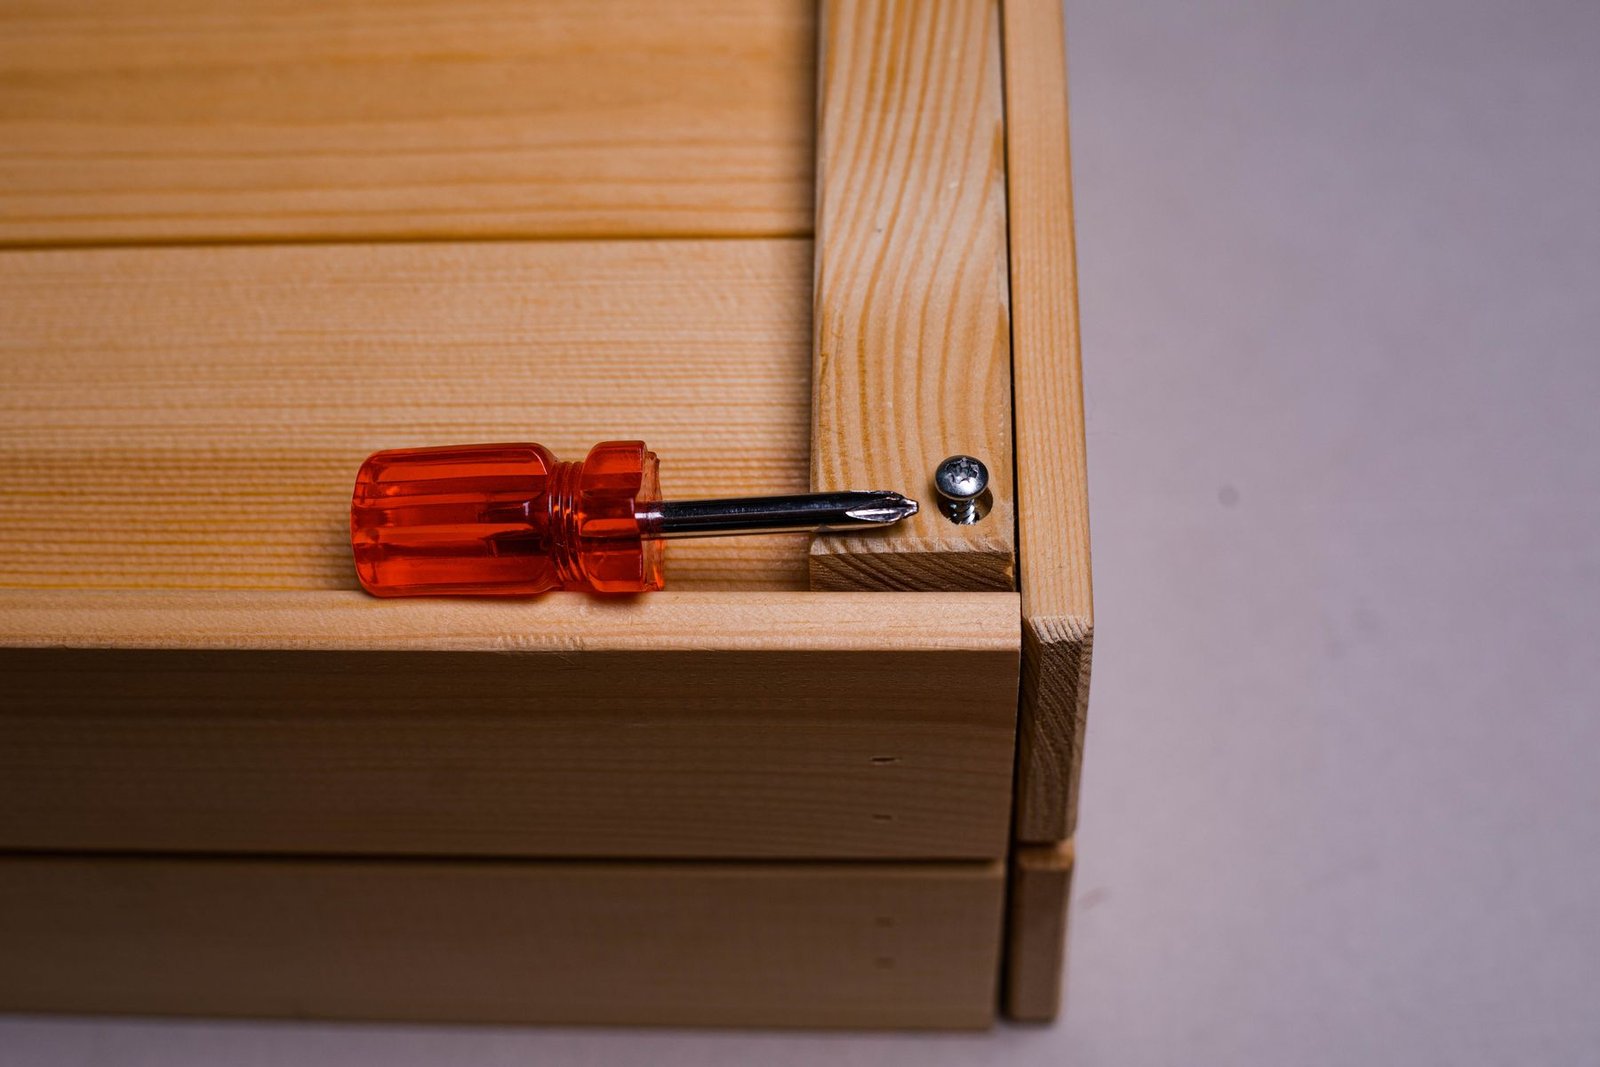
A bit that is too small, too large or the wrong profile can slip out of the recess and round the screw head. Phillips, Pozidriv, slotted, Torx and hex fasteners are not interchangeable just because they look similar. Use a bit that fits fully into the recess with minimal wobble. Replace worn or rounded bits; a damaged tip is more likely to cam out under load.
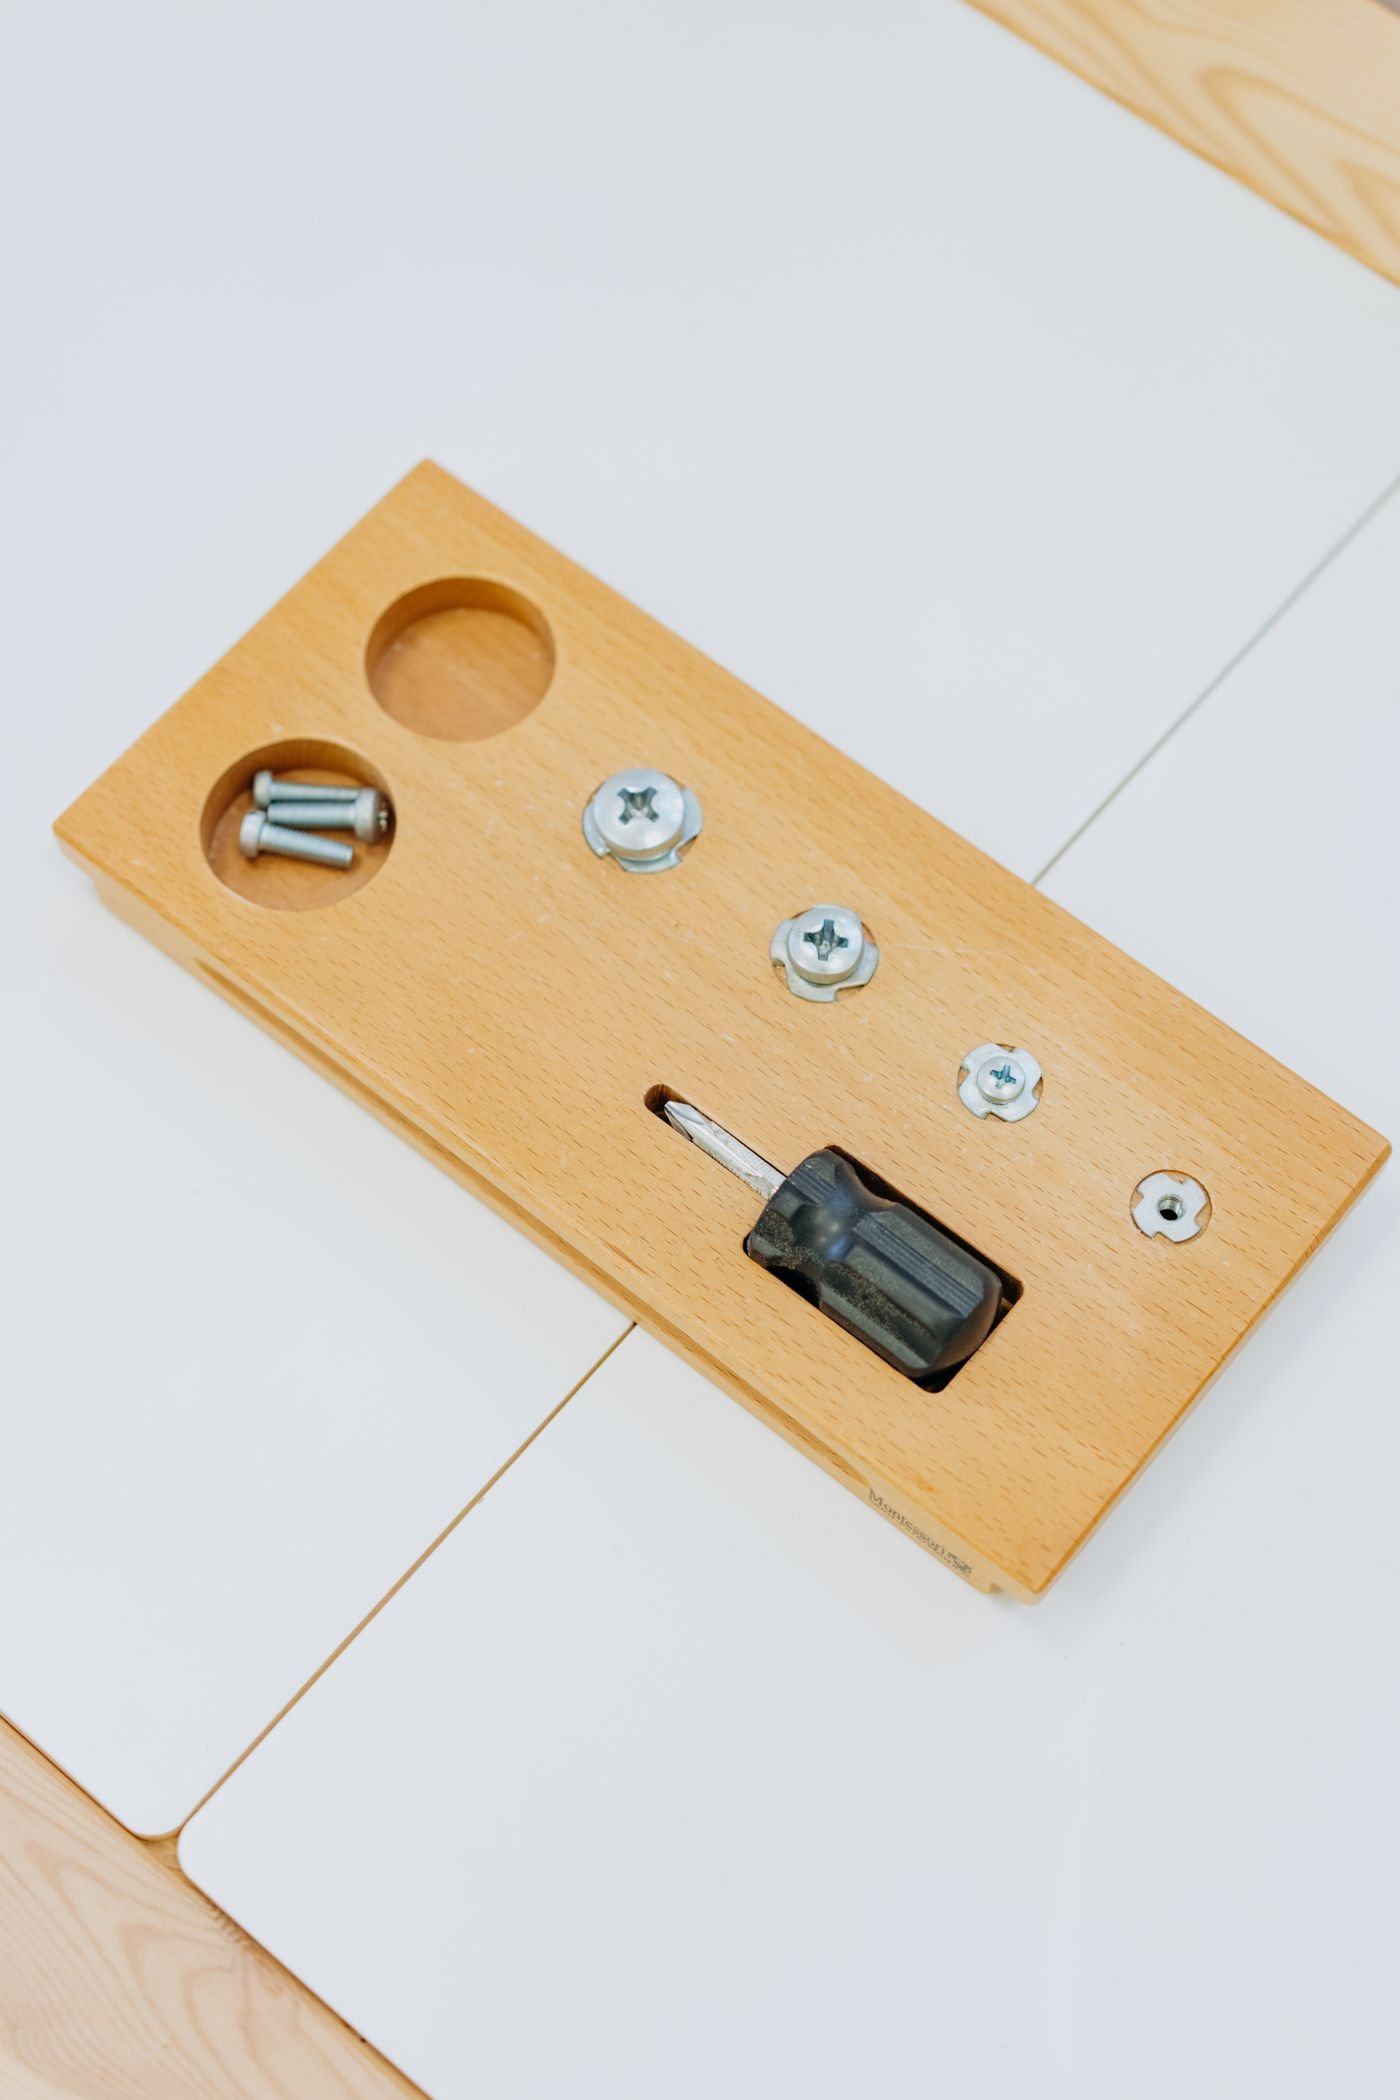
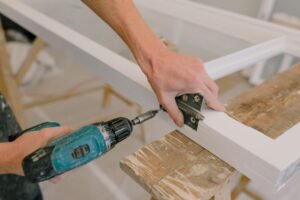
Keep the bit aligned with the screw axis and press firmly enough to maintain engagement without straining your wrist. If the bit jumps out, stop and reassess the fit instead of repeatedly trying at higher speed. For repeated jobs, keep a small set of fresh, correctly sized bits close at hand; one worn bit can damage several fasteners before you realise it is the cause.
2. Stop stripping screw heads before it happens
Stripping often begins when the bit slips once or twice. Pause as soon as you notice it. Check the bit size and type, whether the screw is already damaged, and whether the material is resisting the fastener. Use a lower speed and controlled trigger pressure, especially when the screw is nearly seated.
- Start slowly: Let the bit engage before increasing speed.
- Keep the tool straight: Side pressure encourages the bit to climb out of the recess.
- Use the clutch: On a drill-driver, start with a modest clutch setting and increase only if needed.
- Do not force a poor fit: Switch bits if the tip rocks or slips.
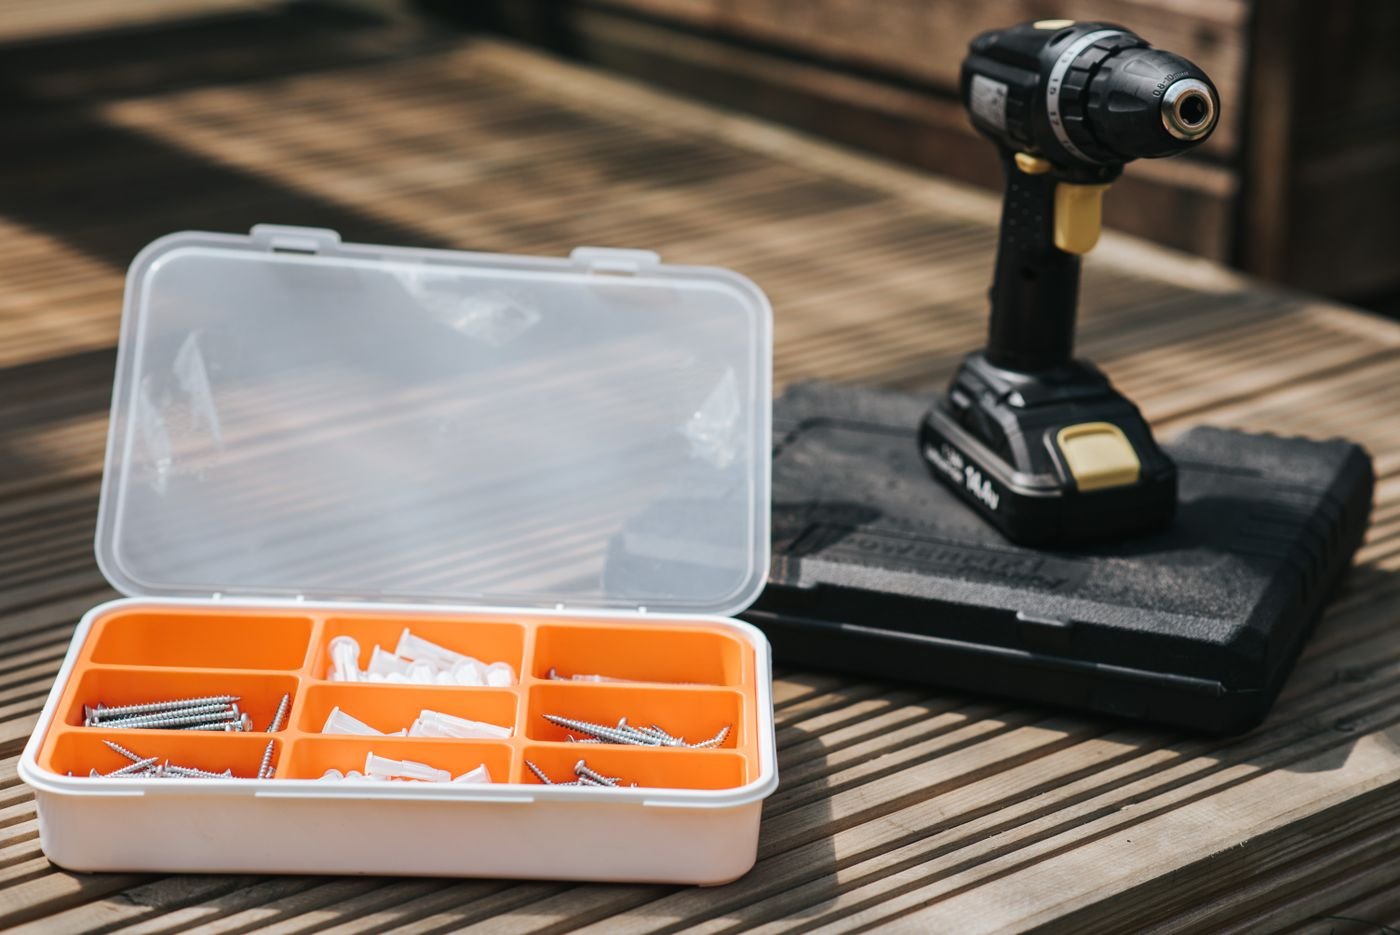
When driving into a dense material, resistance may increase sharply. Do not respond automatically by pushing harder. Check whether a pilot hole is needed, the screw is suitable, and the bit is fully seated. If the tool stalls, release the trigger and investigate rather than repeatedly forcing it.
3. Know when to drill a pilot hole
A pilot hole can make a screw easier to drive and reduce the chance of splitting timber, particularly near an edge, in hardwood or when using a relatively large screw. The hole should suit the screw, material and manufacturer’s guidance. A pilot hole that is too large may reduce thread engagement; one that is too small may still allow splitting or require excessive force.
For many wood screws, the pilot hole is sized around the screw’s core diameter rather than its full outside thread diameter, but the correct choice depends on the fastener and wood. Test on an offcut when possible. Keep the workpiece supported and clamped so it cannot twist or move as the bit enters. If a screw needs unusual force, stop and inspect instead of assuming the drill lacks power.
4. Drive screws straight and flush
Mark the location first and hold the screw square to the surface. Start the screw slowly, then check the angle before continuing. If it begins crooked, back it out while the threads and material are still in good condition and restart rather than trying to bend its path by force.
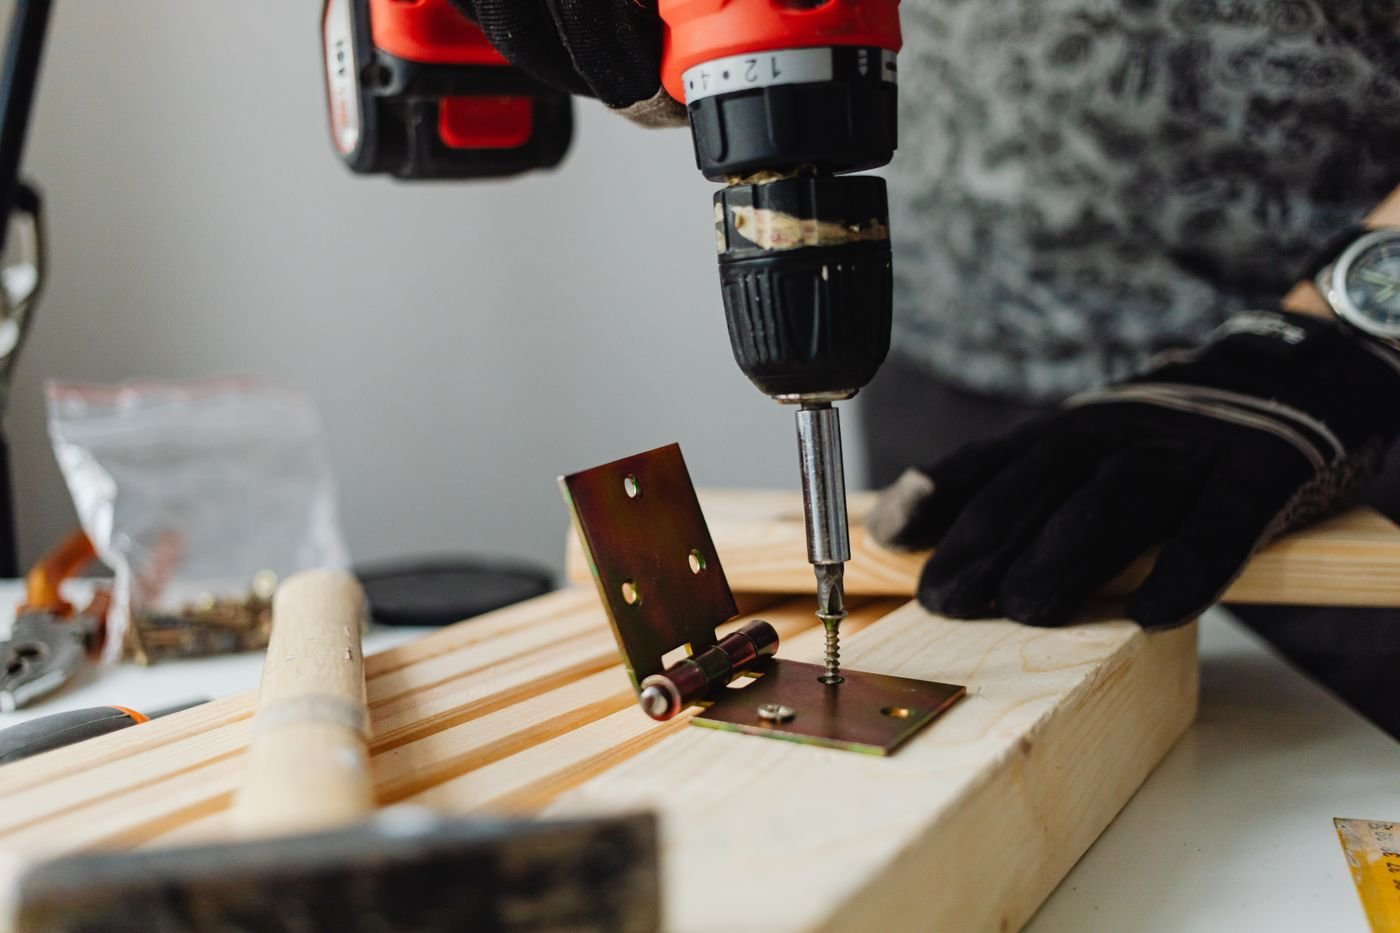
When a screw is nearly flush, reduce trigger pressure. Overdriving can crush the surface, damage a countersink or pull threads out of softer material. For delicate fittings, finish by hand if you need finer control. A countersunk screw should sit as intended by its design; do not assume every screw should be buried below the surface.
If you are fastening two pieces together, clamp them or hold them firmly in position so the top piece does not shift away from the lower piece as the screw enters. For visible work, test the countersink and final depth on scrap first. A small test piece can reveal whether the screw length, head style and driver setting are appropriate before you mark the finished surface.
5. Remove a stuck or damaged screw
Start with the least destructive option. Stop using the bit that is slipping, clean debris from the recess and try the exact driver profile and size. If the head is still usable, press firmly and turn slowly by hand. For a slightly damaged head, a suitable gripping material may sometimes improve contact, but it is not guaranteed to work.
If the screw head protrudes, locking pliers may be able to grip it securely. For a badly stripped screw, a purpose-made extractor may be appropriate when used according to its instructions. Drilling or cutting a slot is more destructive and can damage the surrounding material; use eye protection and secure the workpiece if such a method is appropriate for the item.
Do not use improvised extraction methods on live electrical equipment, pressurised parts, gas fittings or structural hardware. If the screw is part of a safety-critical assembly or you cannot control the tool safely, stop and get qualified help. For delicate furniture or finished surfaces, consider whether a repair professional can remove the fastener with less damage than a DIY attempt.
6. Choose the right screw for the job
Length, diameter, thread, head style, material and coating all matter. A screw designed for timber is not automatically suitable for masonry, sheet metal, plasterboard or outdoor exposure. Match the fastener to the base material and the load, and use an anchor or fixing system where required.
| Task | What to check | Common mistake |
|---|---|---|
| Joining timber | Screw type, length, edge distance and pilot hole | Driving too close to an edge without preparation |
| Fixing a hinge | Existing hole condition, screw fit and alignment | Using a screw that is too short or forcing a crooked start |
| Fixing to masonry | Correct anchor, substrate and rated load | Using an ordinary wood screw without a suitable fixing system |
| Outdoor projects | Corrosion resistance and material compatibility | Using a coating unsuitable for the environment |
| Sheet metal | Fastener type, sheet thickness and required engagement | Assuming a wood screw is suitable for every metal joint |
Do not choose a fixing by length alone. A longer screw can still be wrong for the material or load, and drilling deeper can introduce hidden-service risks. For shelves, wall-mounted equipment and overhead items, identify the wall construction and use a suitable rated fixing system according to its instructions.
Fastener troubleshooting: what to check first
| Symptom | First checks | Next sensible move |
|---|---|---|
| Bit keeps slipping | Bit profile, size, wear and alignment | Change to a properly fitting bit and slow down |
| Wood starts splitting | Edge distance, screw size and timber condition | Stop, reassess and test a suitable pilot hole on scrap |
| Screw will not tighten | Damaged hole, wrong fastener or weak substrate | Stop forcing it and choose a repair designed for the material |
| Head sits too deep | Speed, clutch and screw-head design | Reduce drive force and test the setting on scrap |
A quick checklist before you drive
- Is this the right screw for the material and load?
- Does the bit fit the recess fully and securely?
- Is the workpiece supported and held still?
- Would a pilot hole help?
- Can you control speed and clutch settings?
- Are eye protection and other task-appropriate safety measures in place?
Frequently asked questions
Why does my screwdriver keep slipping?
The bit may be the wrong profile or size, worn, misaligned, or pressed into a damaged screw head. Stop, check the fit and restart at low speed.
Should I use an impact driver for every screw?
No. Impact drivers can be useful for repetitive fastening, but their high rotational impacts can overdrive screws or damage delicate materials. A drill-driver or hand screwdriver often gives better control for smaller or more delicate work.
How do I prevent wood from splitting?
Choose a suitable screw, avoid placing it too close to an edge, and consider a correctly sized pilot hole. Support the timber and test on scrap when possible.
When should I stop and ask for help?
Stop if the fixing carries a critical load, the substrate is unknown, hidden services may be present, or the fastener is part of electrical, gas or structural equipment. Choose safety over forcing a repair.
Bottom line: the best screw tip is usually to slow down, match the bit and fastener to the job, and stop when something does not feel right. Small checks protect the material, the tool and the finished result.
Explore more Tool Tips & Fixes
Continue with the Tool Tips & Fixes hub for more practical tutorials and buying advice.