
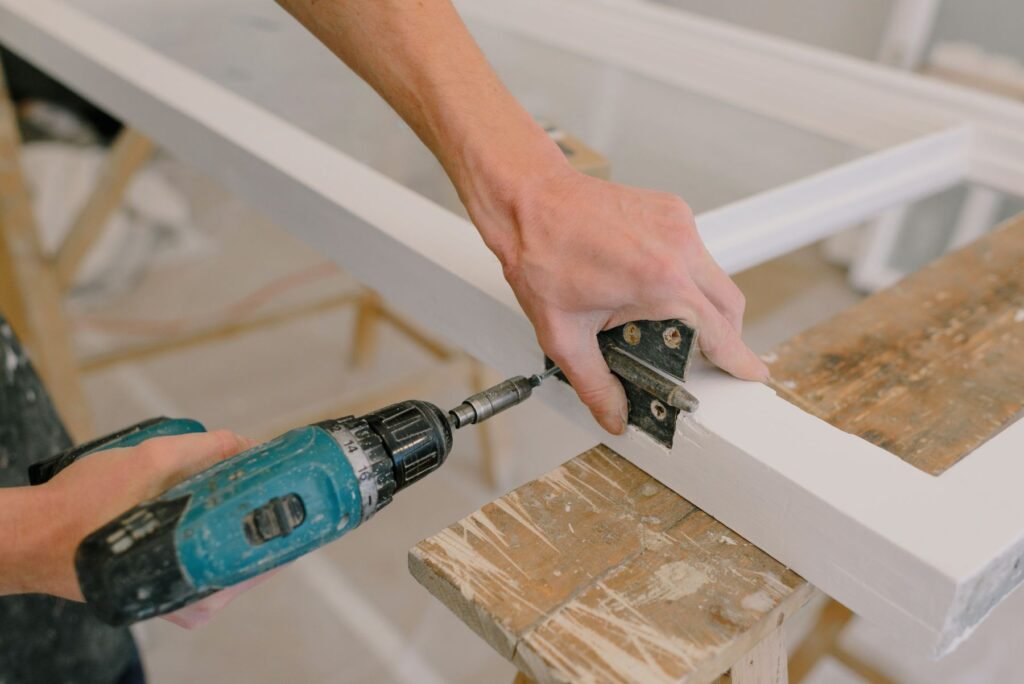
A good repair starts before the screwdriver comes out. A loose handle, sagging hinge or wobbly fitting may look simple, but the cause matters: a fastener may have loosened, the hole may be damaged, the material may have cracked, or the part may be worn out. Tightening everything as hard as possible can make the damage worse.
This guide offers a repeatable method for low-risk household maintenance and small repairs. It does not replace a qualified tradesperson for electrical, gas, structural, plumbing or other high-consequence work. If you cannot identify the cause or make the area safe, stop and seek help.
1. Diagnose before disassembly
Describe the symptom in plain language: the handle moves, the door rubs, the shelf wobbles, or a screw will not tighten. Then look for what changed. Is a fastener visibly loose? Is the fitting bent? Are there cracks, stains, swelling, rust, heat marks or signs of movement around the mounting point?
Take a photo before removing anything and keep small parts together. If multiple screws or components differ, lay them out in order. Do not assume the most visible fastener is the cause; a door that sags, for example, may have worn hinges, loose mounting screws, a damaged frame or several issues at once.

Look for patterns: does the fault happen every time or only under a certain load? Does the problem return after tightening? Is the surrounding material soft, damp, cracked or crumbling? Those clues help distinguish a loose fastener from a failed mounting point or a larger underlying problem.
2. Prepare the workspace and tools
Gather the tools that fit the job rather than opening every toolbox drawer. A basic low-risk repair might need a correctly sized screwdriver, a small level, a tape measure, a flashlight, a pencil and suitable replacement screws. Some repairs require specific anchors, compatible replacement parts or manufacturer instructions.
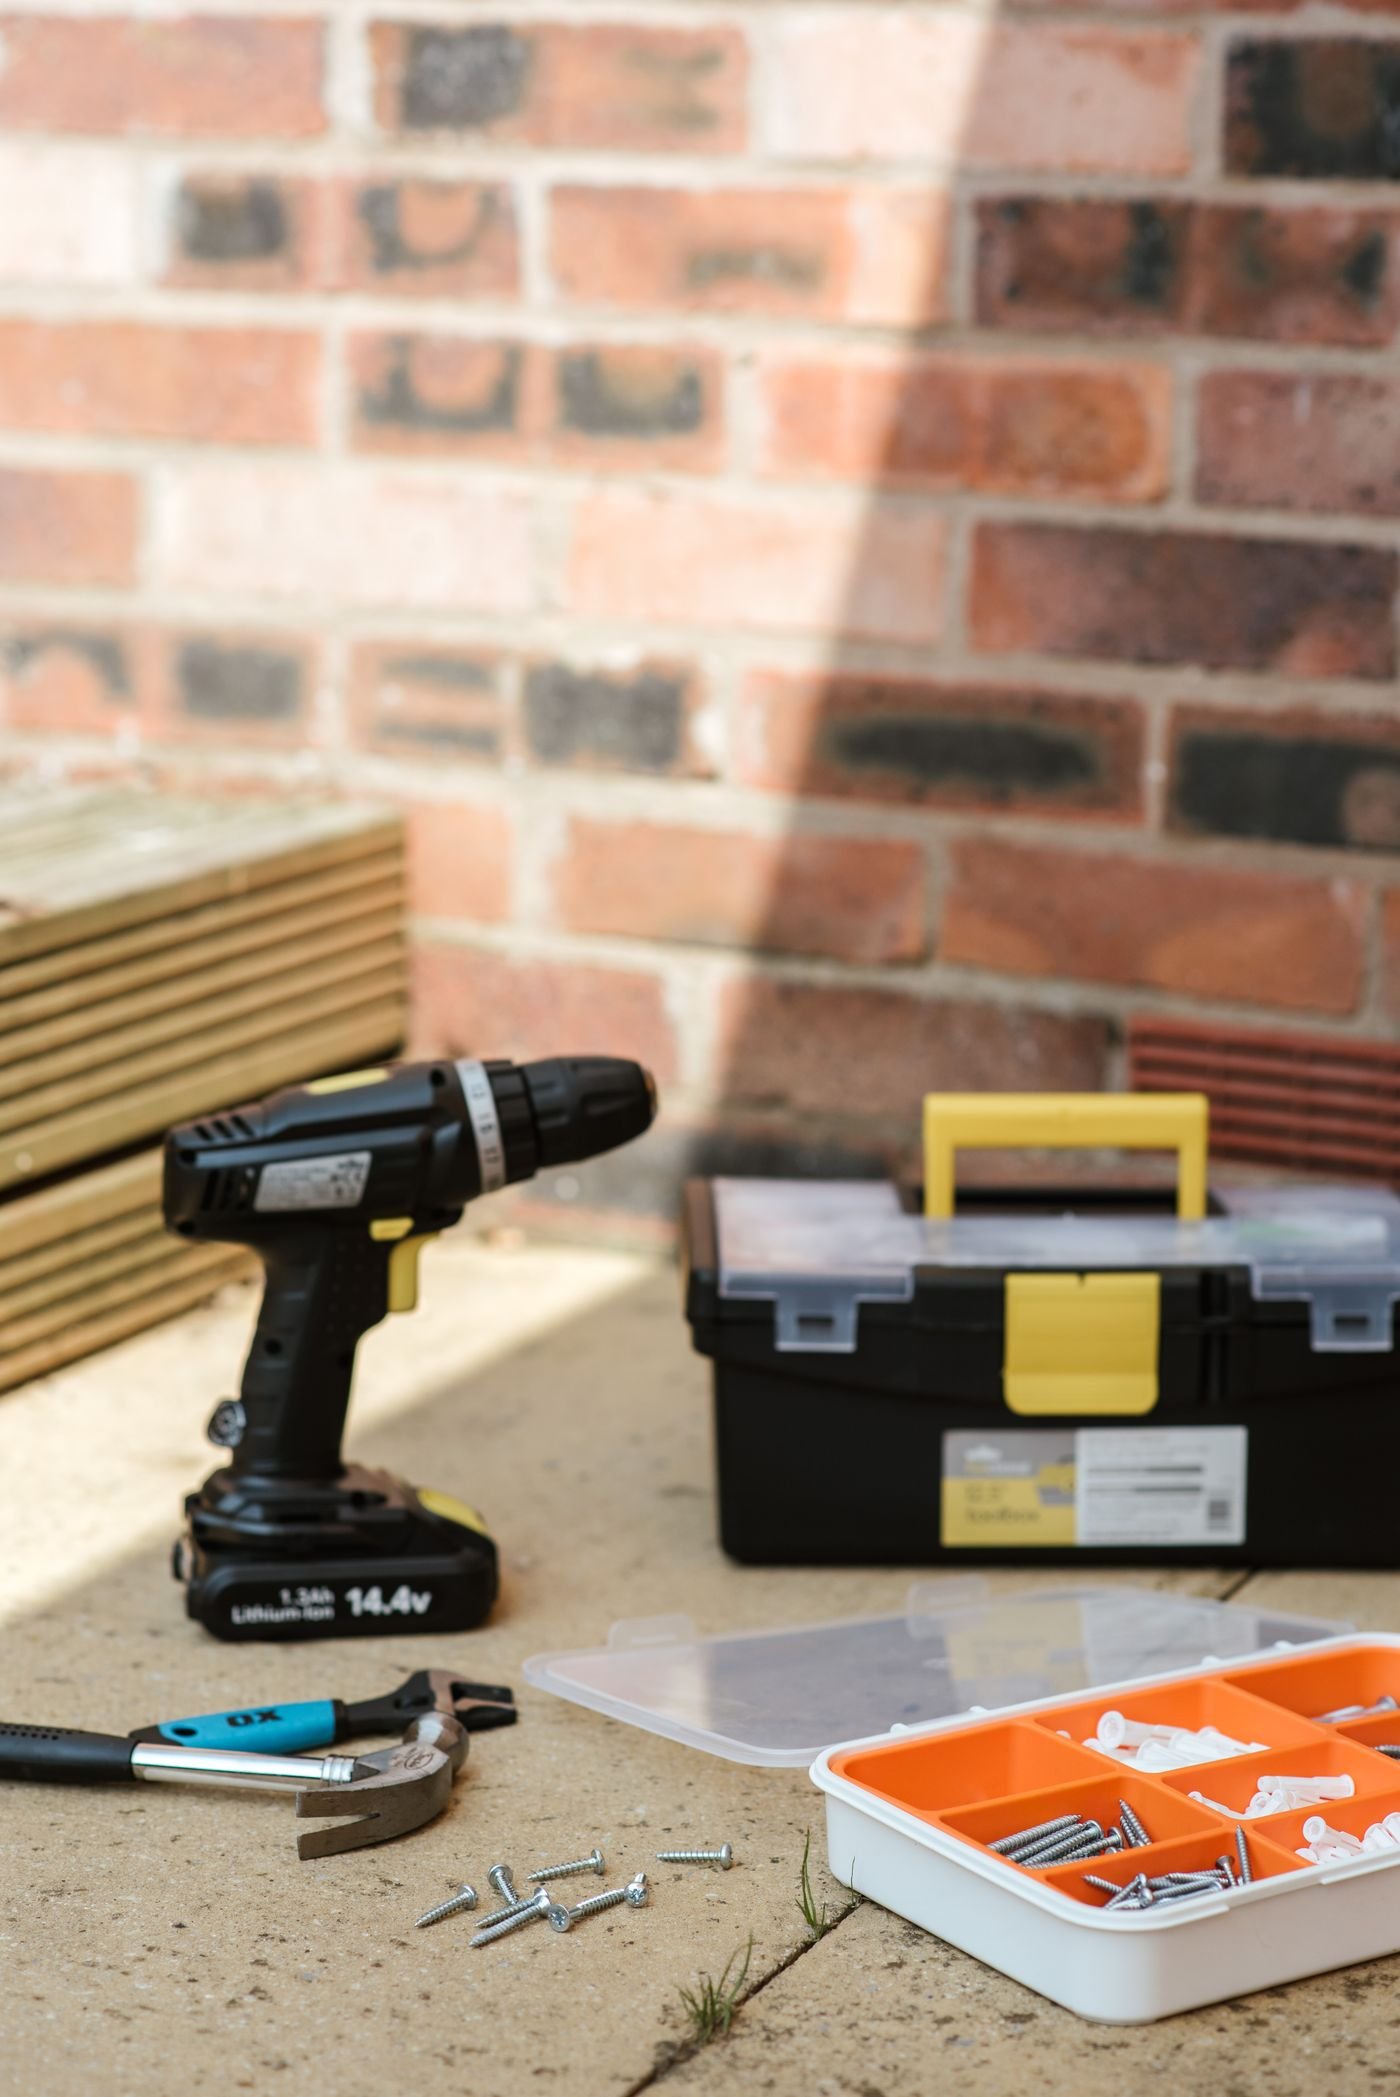
Clear the work area, protect nearby surfaces and keep children and pets away. Support the item so it cannot fall when a fastener is removed. Use eye protection where drilling, cutting or debris is possible. Disconnect power from equipment when the manufacturer says to do so; never open electrical equipment or work near wiring unless you are qualified to do that work safely.
Check that replacement parts match the original purpose, size and mounting method. A part that almost fits can still fail under use. Keep the instructions and small hardware nearby, and avoid starting if you lack a safe way to support the item or keep the work area clear.
3. Fix a loose hinge or handle
For a simple, non-structural hinge or cabinet handle, first check whether the screw is merely loose or whether it turns without tightening. If the screw is intact and the hole is sound, tighten it gently with the correct driver. Avoid overtightening: the goal is a secure fitting, not a crushed surface or stripped thread.
If the screw spins freely, stop. The hole or substrate may be damaged, and a longer screw is not automatically the answer. Confirm what the fitting is attached to, how much material is available, and whether any hidden cable or pipe could be present before drilling or changing the fixing. Use a repair method and fastener appropriate for that material. If the hinge supports a heavy door, the mounting point is cracked, or the frame itself is moving, seek a suitable repair rather than relying on a quick patch.
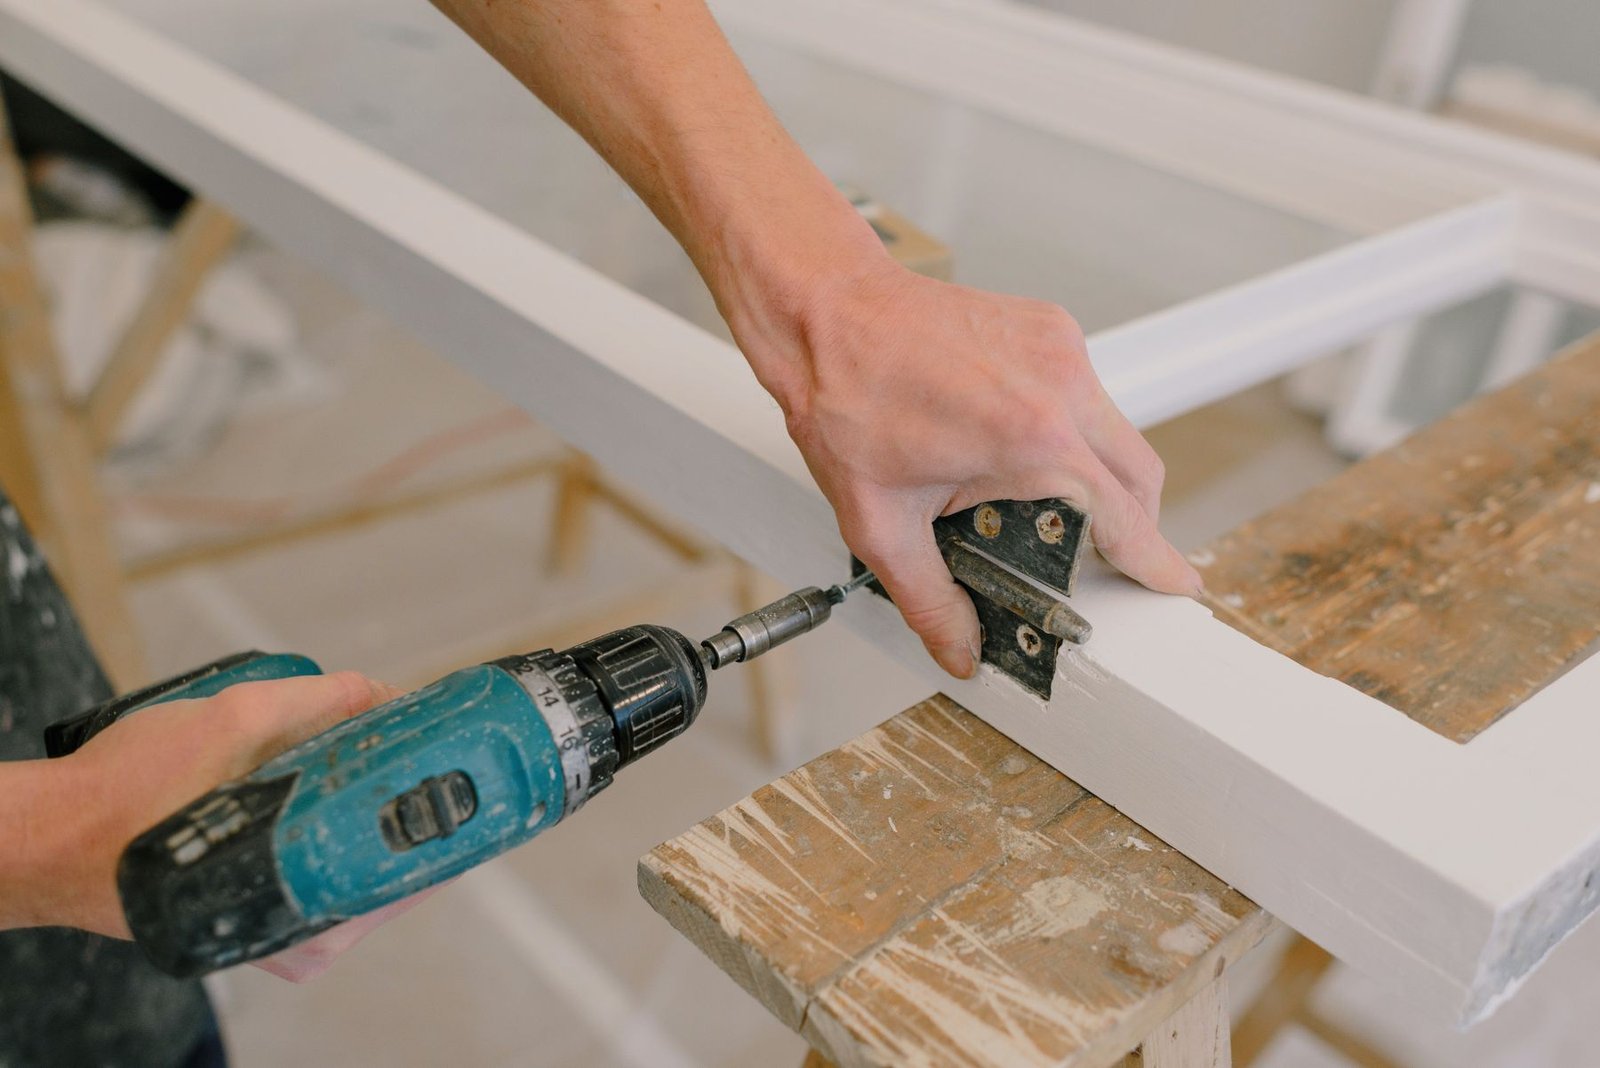
After adjustment, check the fitting for movement and make sure the door or handle operates without binding. Do not keep tightening if the screw head is starting to deform or the material begins to crush. A small amount of controlled force is better than damaging the part you are trying to save.
4. Repair small wood damage carefully
Small cosmetic chips and loose, non-load-bearing trim may be suitable for a simple repair, but the method depends on the damage and location. Remove loose debris, identify whether the wood is sound and dry, and choose a filler, adhesive or replacement piece intended for that use. Follow the product’s preparation and curing instructions.
When adding a screw to timber, consider edge distance, screw length and a pilot hole. Clamping or supporting the wood helps prevent movement. Test the process on an offcut if you are unsure. Do not disguise rot, water damage or a structural split with filler and paint; find and address the underlying cause.
For a finish that will be visible, test the repair product and finish on a hidden area or scrap of similar material. Different wood species, coatings and fillers can absorb stain differently. Allow adhesives and fillers to cure for the full time stated on the label before sanding, painting or putting the item back into use.
5. Test the repair instead of assuming it worked
Once the repair is complete, remove tools and debris, then check the item in a controlled way. Operate a handle several times, open and close a door slowly, or apply only the normal light use expected for the item. Look for movement, new noises, uneven gaps or fasteners that begin to loosen again.
Do not load a shelf, bracket or mounted object beyond its specified capacity to “test” it. For anything overhead, heavy or capable of injuring someone if it falls, rely on the fixing manufacturer’s instructions and appropriate load ratings. If the item still moves or the original symptom returns, stop using it until the cause is resolved.
For recurring problems, record what you changed and when. That simple note can help reveal whether the issue is caused by vibration, moisture, repeated overload or an unsuitable replacement part. If the repair is part of a rental property or a product under warranty, check the relevant maintenance and warranty requirements before modifying it.
6. Know when not to DIY
- Electrical: damaged wiring, exposed conductors, hot outlets or uncertain circuits require qualified help.
- Gas: if you smell gas, leave the area and contact the appropriate emergency or gas service; do not operate switches or attempt a repair.
- Structural: cracks, movement in load-bearing components, unstable stairs or failing supports need professional assessment.
- Hidden services: do not drill or cut until you have taken appropriate steps to identify cables, pipes and other hazards.
- Water damage: recurring damp, leaks, rot or swelling usually require the source to be identified, not just the visible surface repaired.
- Specialised equipment: follow the maker’s service guidance and do not improvise around pressurised, rotating or safety-critical parts.
The five-minute repair checklist
- Describe the symptom and inspect the surrounding material.
- Photograph the assembly before removing parts.
- Gather the correct tool, compatible fasteners and protective equipment.
- Make the smallest appropriate repair; do not force parts that do not fit.
- Test normal operation safely and watch for the original fault returning.
Frequently asked questions
Why does a screw keep coming loose?
The fastener may be unsuitable, the hole may be worn, the material may be moving, or vibration may be present. Inspect the substrate and intended load before choosing a repair.
Should I always replace a damaged part?
Not always. A small, non-critical cosmetic defect may be repairable, while a cracked, worn or safety-critical component may need replacement. Follow the manufacturer’s instructions and assess the consequence of failure.
What tools should I keep for basic repairs?
A useful starter kit often includes screwdrivers or a multi-bit driver, tape measure, level, pliers, flashlight and task-appropriate safety equipment. Add tools as real projects require them rather than buying a large kit without a purpose.
How do I know if a repair is safe?
Check that the cause has been addressed, the parts are secure, the item operates normally and the fixing suits the material and load. If failure could cause injury or you cannot assess the risk, ask a qualified professional.
Bottom line: good maintenance is methodical: inspect, prepare, repair, then verify. A careful pause before the first screw often saves time and prevents a small fault from becoming a bigger one.
Explore more Tool Tips & Fixes
Continue with the Tool Tips & Fixes hub for more practical tutorials and buying advice.